Try restorative yoga to ease the mind and heal the body
Physical burnout and depression increasingly affect people’s ability to live a full and meaningful life. Too much work, too much stress, too much stimulation, too much effort all add up to keeping us trapped in a permanent fight-flight response pattern to daily events.
This is neither a normal nor healthy way to live as we literally wear down our bodies until they eventually say, “No more” in the form of injury or disease. When we continually operate from within our stress response (sympathetic nervous system), our body systems not needed for “life-and-death” survival temporarily shut down so energy can be diverted to the seemingly “greater” priority. This severely hampers our ability to breathe, digest food and eliminate waste. Not only are our sleep patterns negatively affected, we are also confronted with a number of modern “businessperson’s” diseases such as irritable bowel syndrome and heart failure. And of course, a “racing, tense” body instigates a racing, tense mind further elevating our stress response and weakening our immune system.
Each of us needs to find healthy ways to balance the hectic pace of our high-touch, high-tech lifestyles with the restful introspective needs of our creative inner nature. Fortunately, restorative yoga does this by stretching, softening and relaxing tight muscle tissue without contracting it. In doing so, restorative yoga activates our parasympathetic nervous system, which turns off and reduces the negative effects of an overused fight-flight stress response. This soothing effect on our nervous system cultivates a serene experience on a deep cellular level. The mind, body and spirit are centred and aligned with stillness and support resulting in a soft, quiet body and a soft, quiet, creative mind.
As you may have already guessed, restorative yoga is slower paced than more active styles with an emphasis on deep breathing, relaxation and supportive props enabling you to hold poses for longer period. Through the use of props, you can completely surrender any tension or holding patterns in your body without exerting effort in the process. Fortunately, restorative yoga is healing as well as strengthening for everyone at any stage of life. And it is especially helpful during times of illness (chronic or acute), injury, fatigue, menstruation and, of course, stress. You can practise as often as you wish, however, it is wise to incorporate this style of yoga once or twice into your weekly practice to prevent burnout — and even more often during times of stress or illness.
In the sequence below, we have illustrated the five key restorative poses — Salamba Setu Bandha Sarvangasana, Sirsasana, Sarvangasana, Halasana and Viparita Karani. Whether you are a beginning or seasoned yoga practitioner, these restorative poses gift you with the following wonderful presents — greatly enhanced flexibility, a deeply relaxed body, a still mind, improved capacity for healing, a balanced nervous system and a boosted immune system.
All of these benefits bring about a much-enhanced mood, which further allows us to develop qualities of compassion and understanding toward others and ourself. Follow the yoga actions below that best suit your level of practice and be sure to notice the after-practice mental and physical rewards.
Note: Sirsasana and Sarvangasana as illustrated here are for the more advanced practitioner. In our following articles, we will explain how a beginner can develop their ability to access these two poses.
For beginner practitioners: Using your yoga imagination to help you stay focused internally, inhale fully into your heart space. Exhale and lengthen from behind your breastbone down to your pubic bone and out through your inner legs. Allow your breath to be deep and calm with the length of your inhalations and exhalations remaining fairly even.
For more advanced practitioners: Once you have set the above breath pattern, take your awareness to your C7, (knobby vertebrae at the base of your neck in the back body). Inhale into the area of your C7 and exhale from here down into the back of your heart space and up the length of your cervical (neck) spine to the base of your skull. You may even feel your breath reaching into your palms.

HALASANA (Plough pose)
Beginner yogis: Set up close enough to a wall so you can bring your legs over your head and rest your feet into the wall (legs parallel to the floor). Stay for five to 10 breaths.
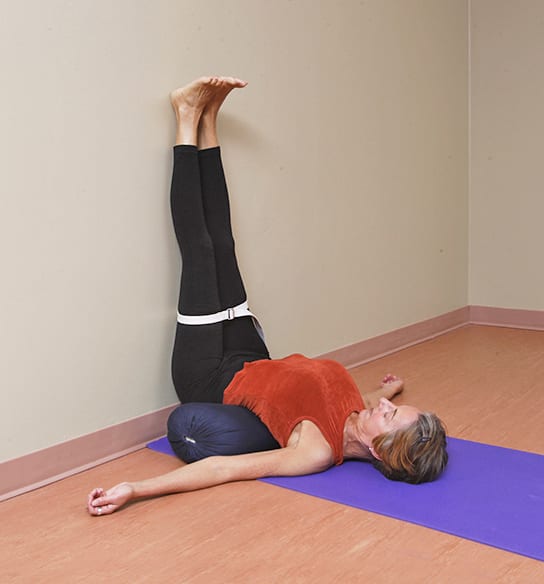 VIPARITA KARANI (Legs Up the Wall pose)
Place a bolster or folded blankets two to four inches from the wall. Sit sideways on one end of the bolster and release your torso to the floor keeping it perpendicular to the wall. Edge your sits bones into the wall, then guide your legs up the wall and your back to the floor. Belt your mid-thighs. Stay for up to 10 minutes.
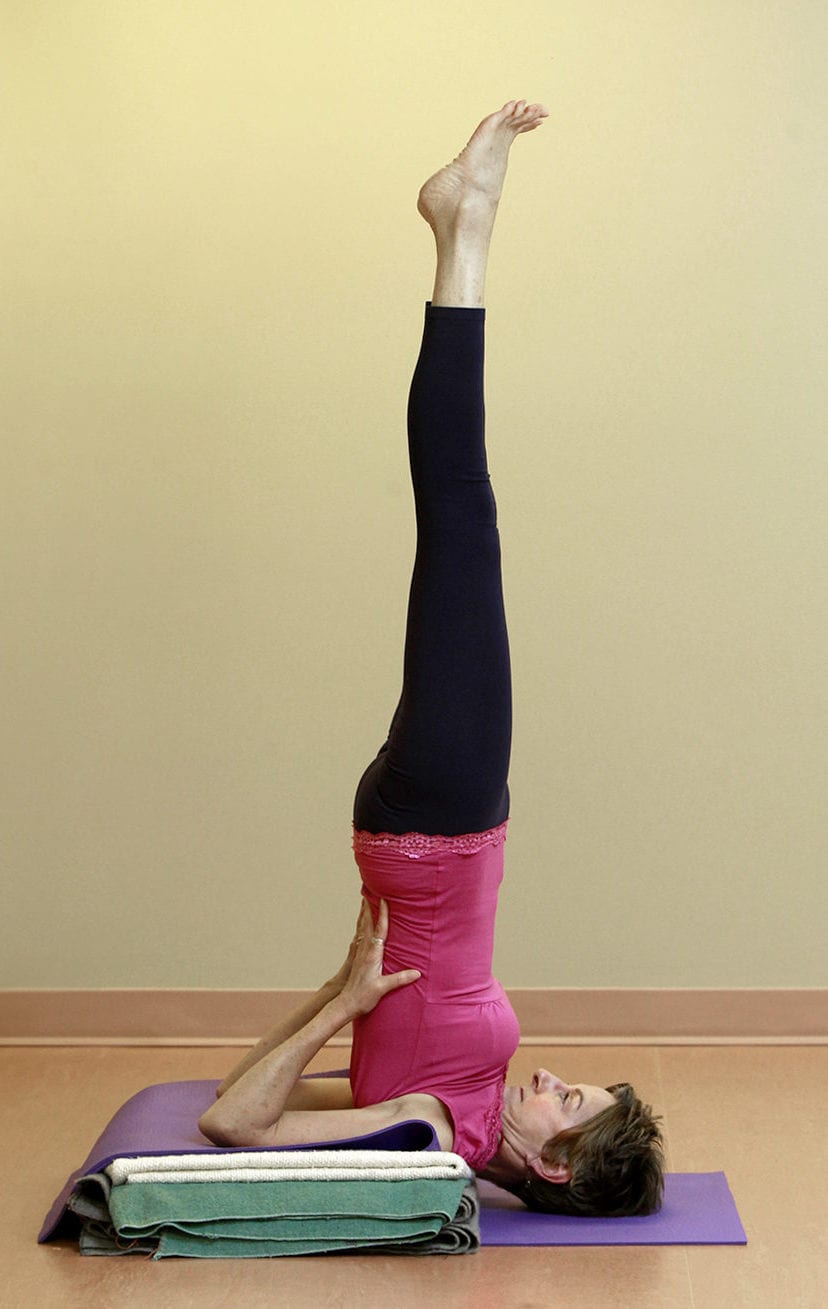
SARVANGASANA (Shoulder Stand pose)
For more advanced yogis: Create your support using zero to two blankets. Sit in front of your support and lower your shoulders onto it. Roll your body toward your head and straighten your legs upward. Support your back with your hands. Stay for double the amount of time you were in Sirsasana.
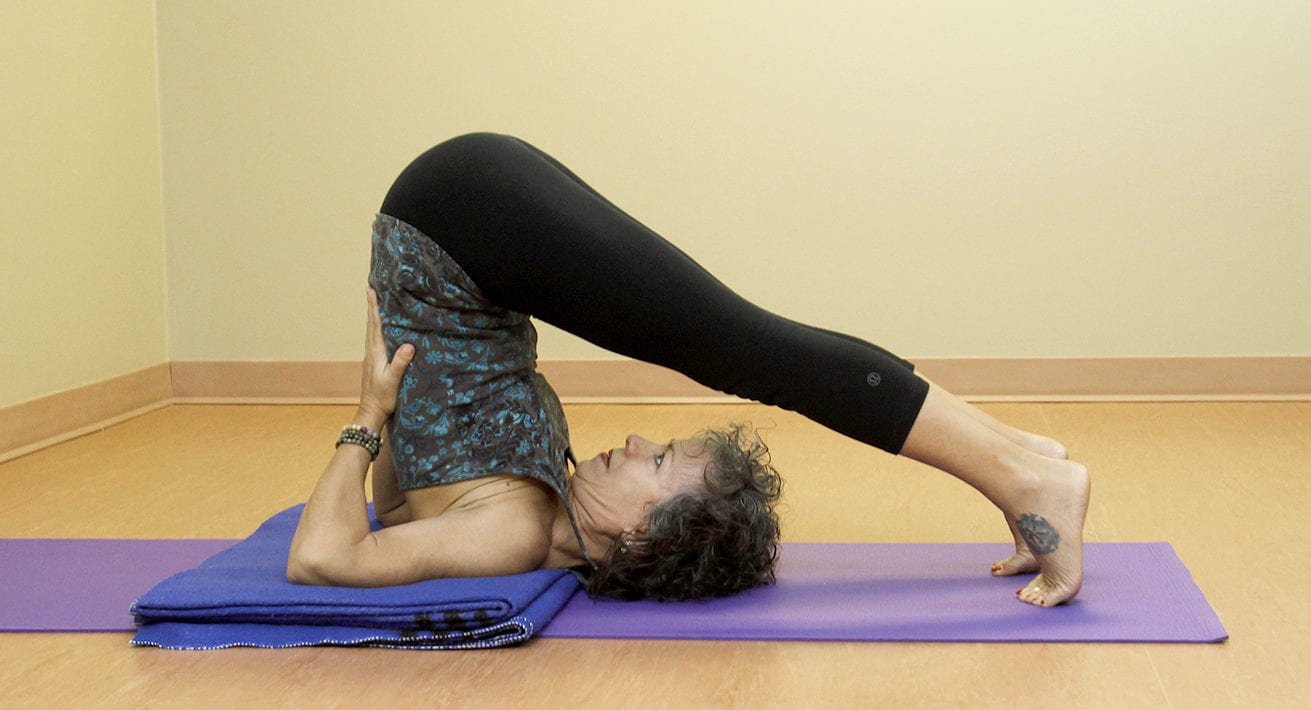 HALASANA (Plough pose)
Advanced yogis: Begin as in shoulderstand, but with less support under your shoulders. Roll your knees and pelvis toward your head and straighten your legs over your head with your toes into the floor. Stay for one to three minutes.
Beginner yogis: Set up close enough to a wall so you can bring your legs over your head and rest your feet into the wall (legs parallel to the floor). Stay for five to 10 breaths.
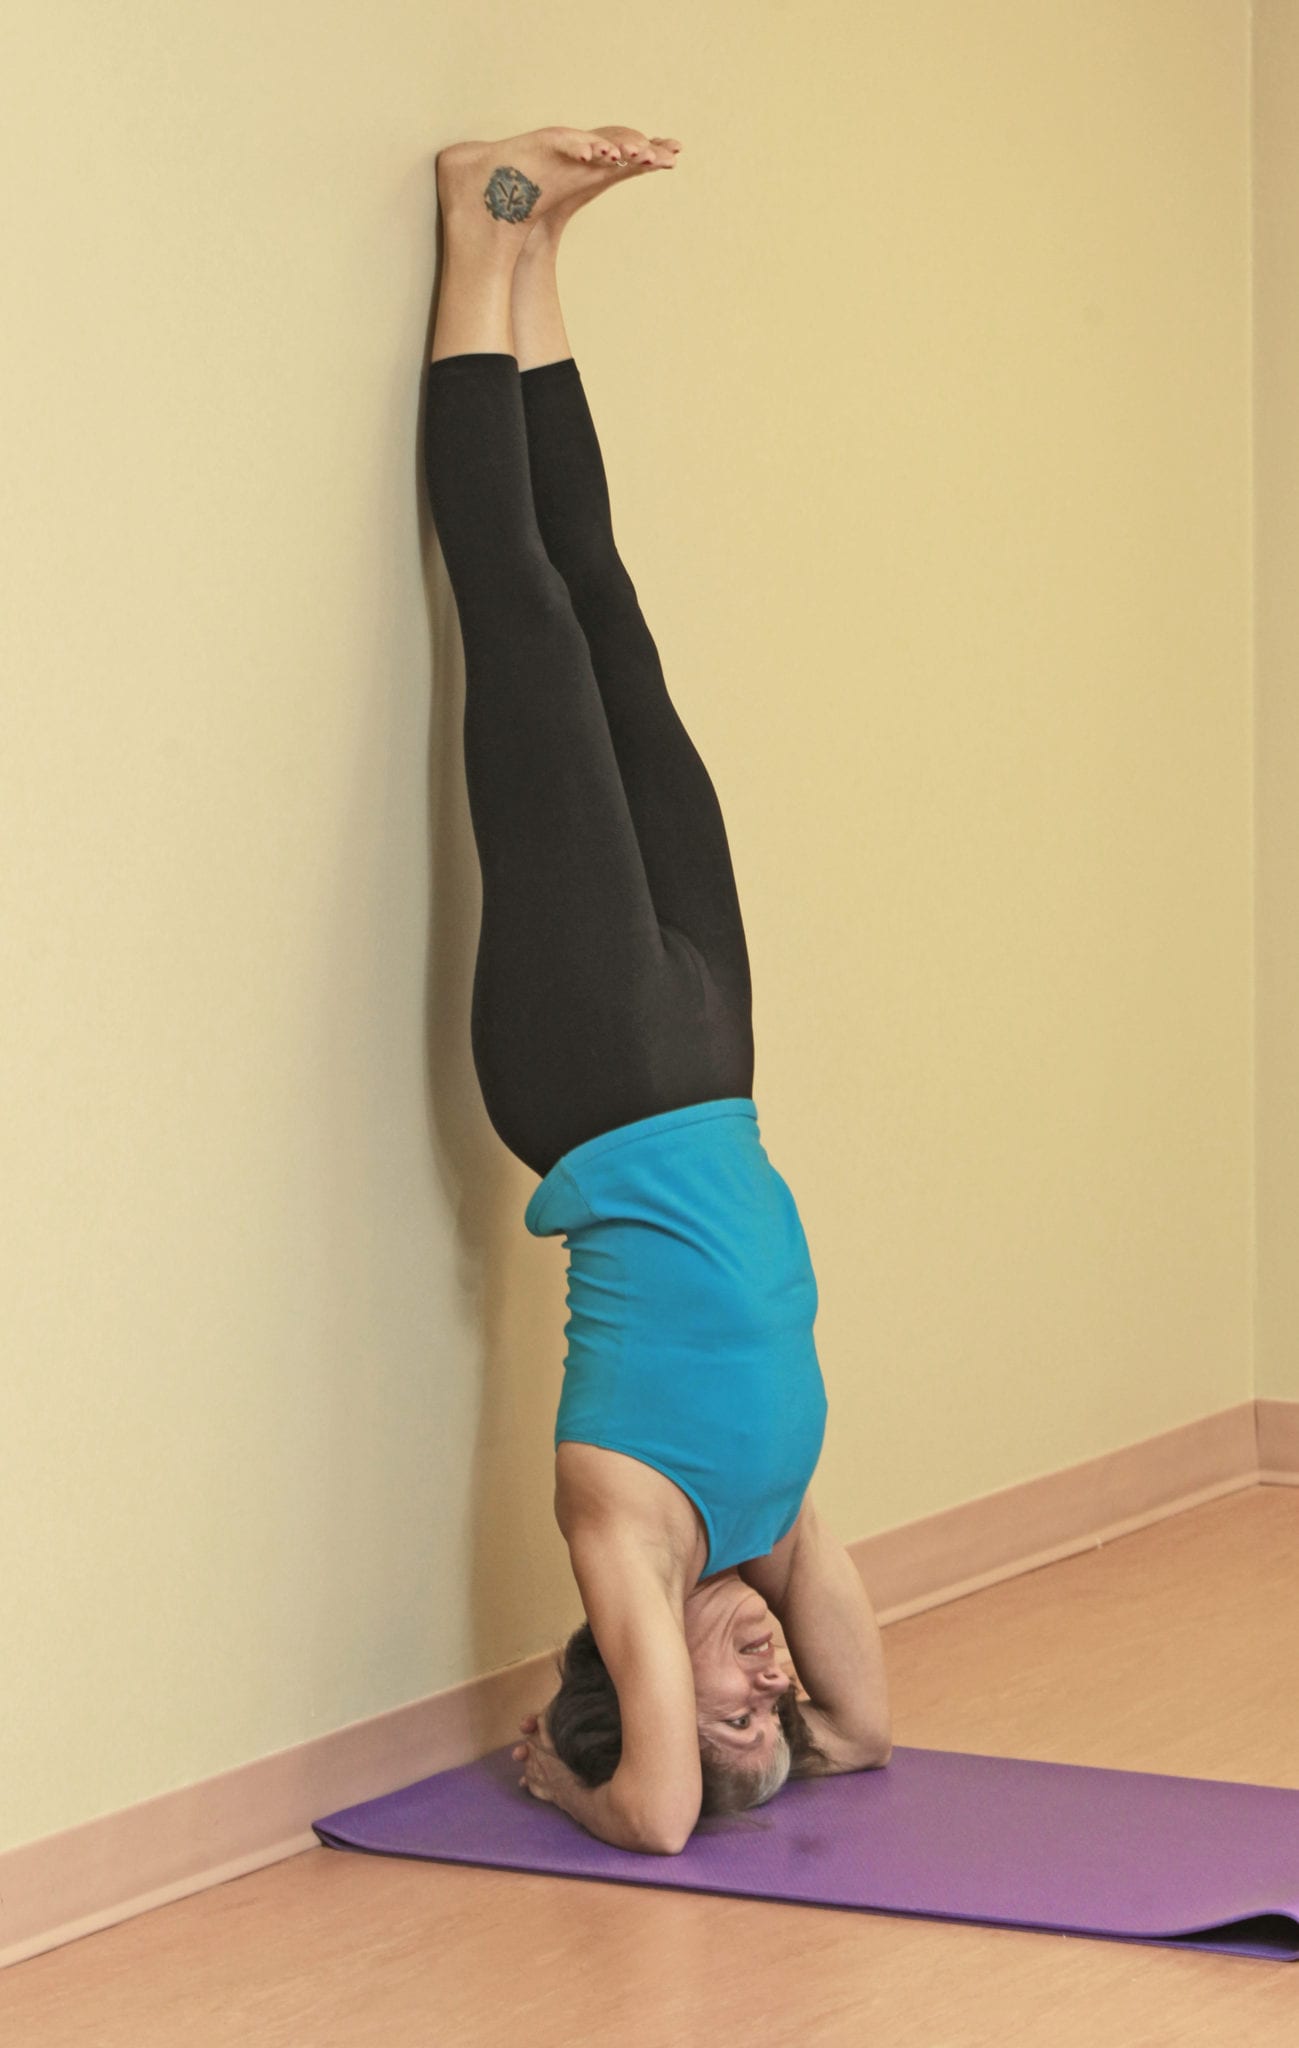 SIRSASANA (Headstand pose)
For more advanced yogis: Start on all fours facing away from the wall. Interlace your fingers with the baby-finger side into the floor and your elbows directly under your shoulders. Press evenly into your forearms and the baby-finger side of your palms and lift your pelvis into headstand “dog”. Keep your head off the floor. Then walk your feet in toward your hands until you can lightly kick one leg at a time to the wall. Lift up through your inner legs and feet as you press down into your forearms and baby-finger sides of your hands. Stay for one to three minutes.
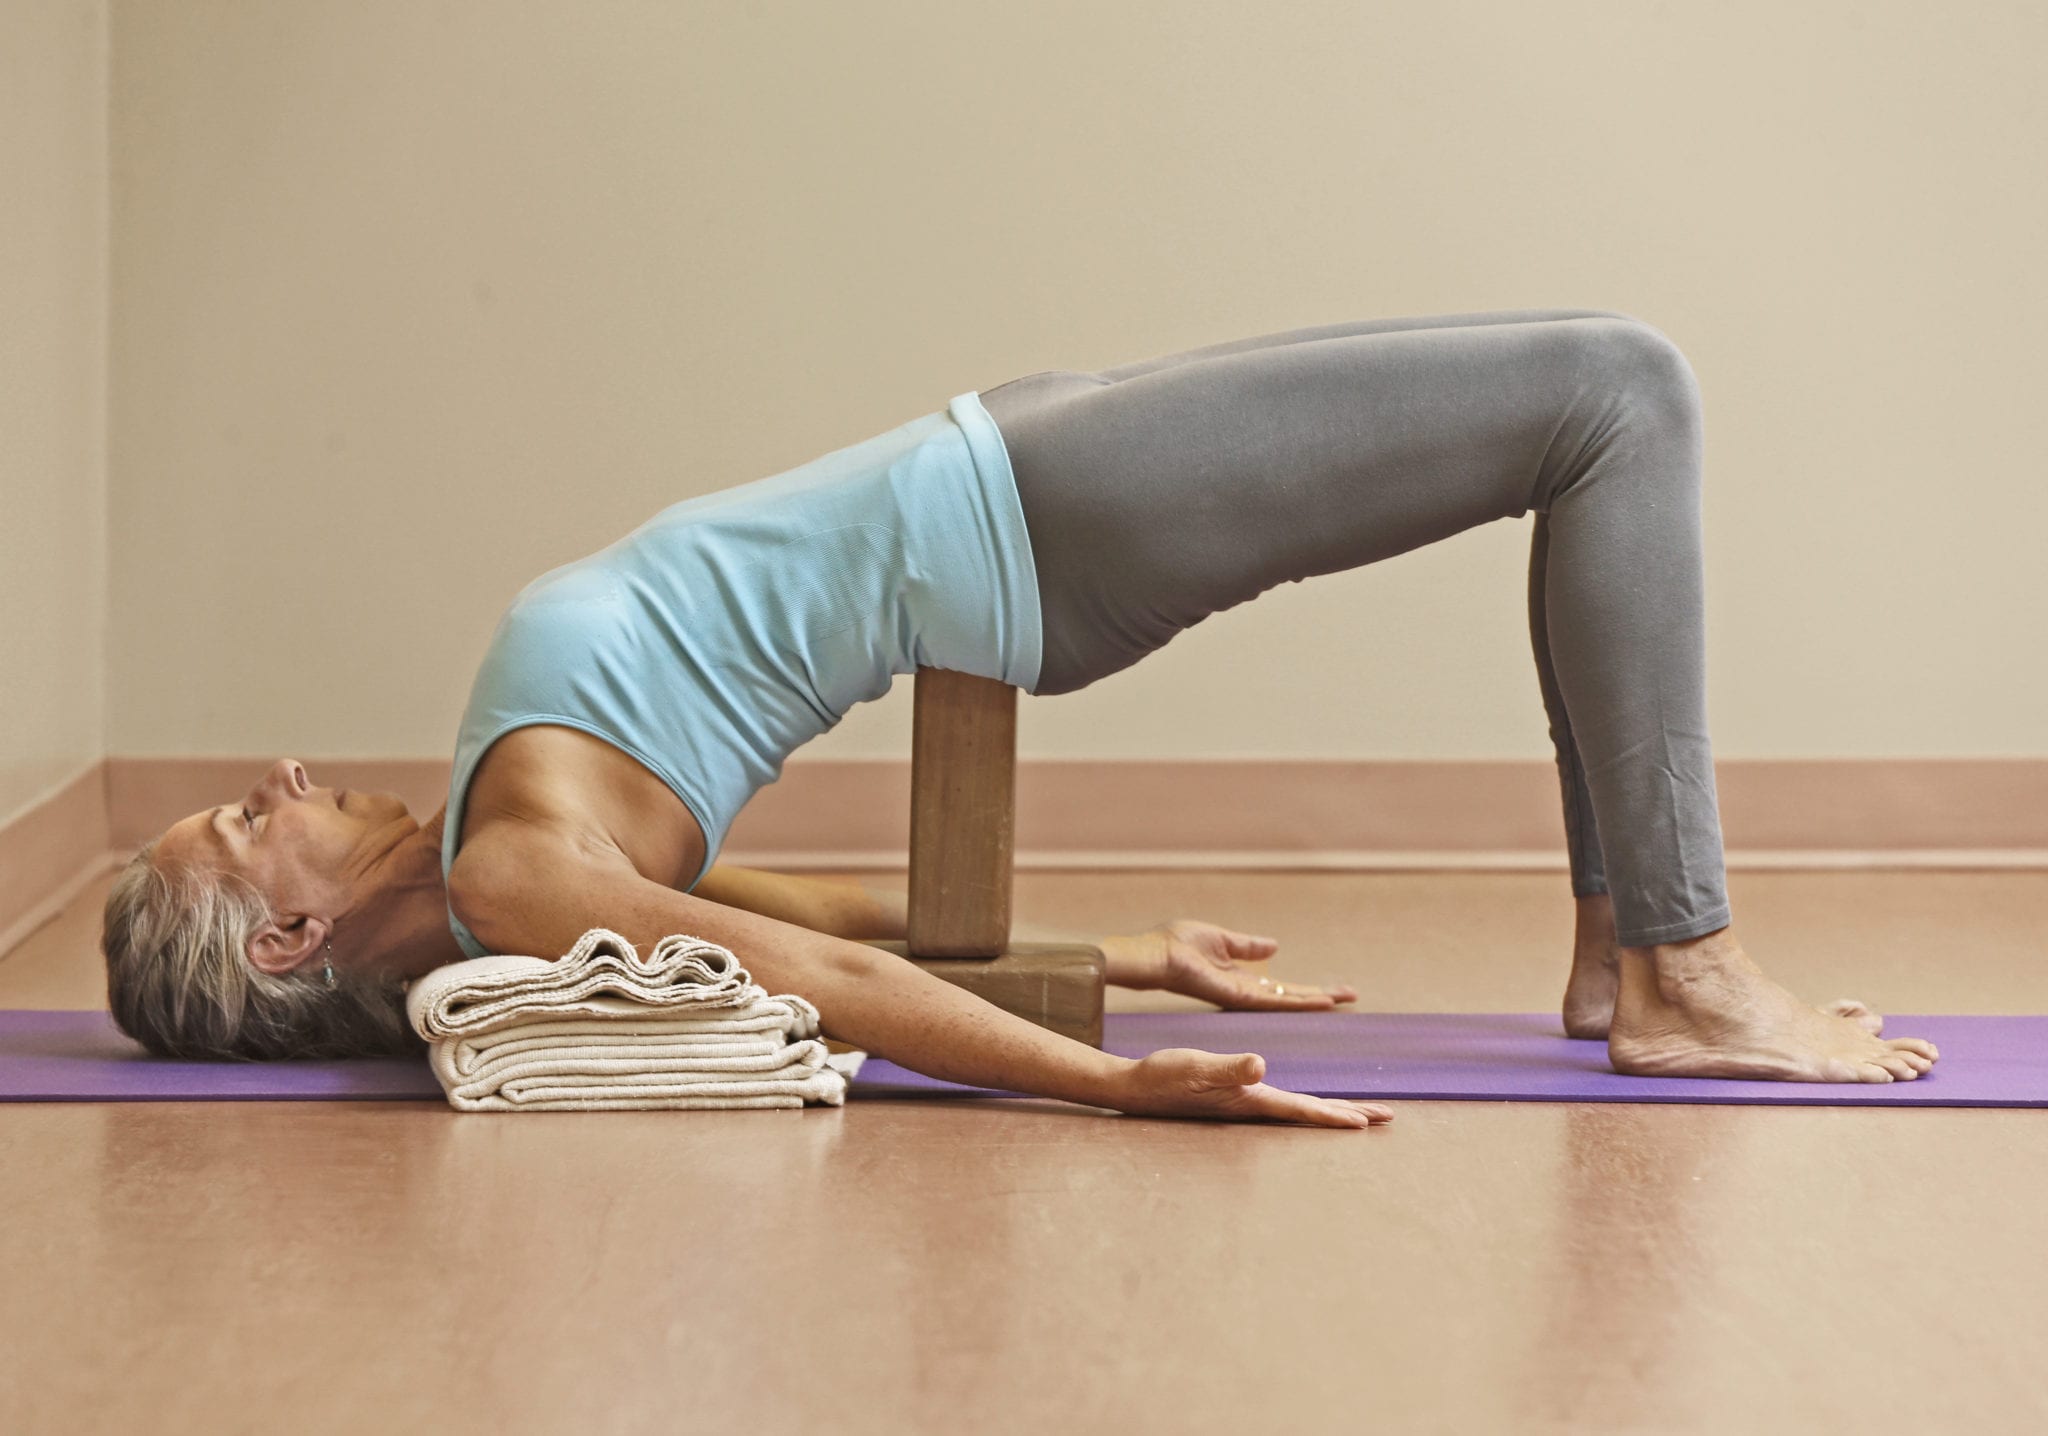 SALAMBA SETU BANDHA SARVANGASANA (Supported Bridge pose)
Begin by lying on your back with your knees bent and feet on the floor. Place the height of support under your shoulders (two or three double-folded blankets) you need to allow you to stay in the pose without pain. Press into your feet, lift your pelvis up and place your chosen height of blocks (one or two) under your pelvis. Rest your sacrum on the blocks. You may also belt your upper thighs to help release any strain in your back. Stay for three to five minutes. More advanced practitioners, after two minutes, straighten your legs one leg at a time.
 Winnipeggers Helen Maupin (righttojoy.com) and Candace Propp (natureofcontentment.ca) are 500-hour certified yoga teachers and authors of the Creating Space: Yoga Actions book series. To purchase print or ebooks, visit here. For 200- and 500-hour yoga teacher training with them and Stacy Schroder go to sereneyogastudio.com.